
Most small business owners think about image quality when they upload photos to their website. Very few think about image file size — and that gap costs them real rankings and real visitors every single day. Image optimisation for websites is one of those technical tasks that sounds minor but delivers outsized results once you understand what is actually happening.
Here is exactly what image optimisation means, why it matters, and how to do it properly on a WordPress small business website.
Why Image Optimisation Matters More Than Most People Realise
Images are consistently the largest files on any web page. A single uncompressed hero image shot on a modern phone camera can be 8 to 12 megabytes. That one file alone can push your page load time past five seconds on mobile — at which point more than half your visitors have already left.
Google uses page speed as a direct ranking signal. It also measures Core Web Vitals — specifically Largest Contentful Paint (LCP), which tracks how long it takes for the main visible element on a page to load. For most websites, that element is a large image. Poor image optimisation is therefore not just a user experience problem. It is an SEO problem.
What Image Optimisation Actually Involves
Image optimisation covers four distinct things, and all four matter:
1. File size compression
Compression reduces the byte size of an image file without (ideally) any visible loss of quality. There are two types: lossless compression removes redundant data without changing image quality at all, and lossy compression reduces quality slightly in exchange for much smaller file sizes. For web use, a quality setting of 75 to 85 percent in lossy compression is typically indistinguishable from the original at normal viewing distances, while reducing file size by 60 to 80 percent.
2. Correct dimensions
If your website displays an image at 800 pixels wide but you upload an image that is 4,000 pixels wide, the browser downloads the 4,000-pixel version and scales it down. All those extra pixels are wasted data. Images should be resized to their actual display dimensions before uploading — or your image plugin should handle responsive sizing automatically.
3. Modern format (WebP)
WebP is a modern image format developed by Google that produces files approximately 25 to 35 percent smaller than JPEG at equivalent quality, and 25 to 35 percent smaller than PNG for images requiring transparency. All major browsers now support WebP, making it the right choice for virtually every image on a small business website in 2026. Most WordPress image optimisation plugins convert to WebP automatically.
4. Lazy loading
Lazy loading means images below the fold (not visible when a page first loads) are only downloaded when the user scrolls toward them. This dramatically reduces initial page load time because the browser only has to download the images the visitor can actually see. WordPress has had native lazy loading support since version 5.5.
The Best Way to Optimise Images on a WordPress Website
The most practical approach for a small business WordPress site is a combination of an image optimisation plugin and good habits on upload.
For the plugin, ShortPixel and Smush are both excellent free options. ShortPixel compresses images on upload, converts them to WebP automatically, and includes a bulk optimiser that compresses your entire existing media library. Smush does similar work and integrates directly with the WordPress dashboard. Install one, run a bulk optimisation on your existing library, and enable automatic compression on new uploads. You do not need both.
For upload habits, resize images to their display dimensions before uploading them to WordPress. A hero image displayed at 1,200 pixels wide should be uploaded at 1,200 to 1,440 pixels wide — not at the 4,032 pixels wide that a phone camera produces. Tools like Squoosh (free, browser-based) let you resize and compress images before uploading in under a minute.
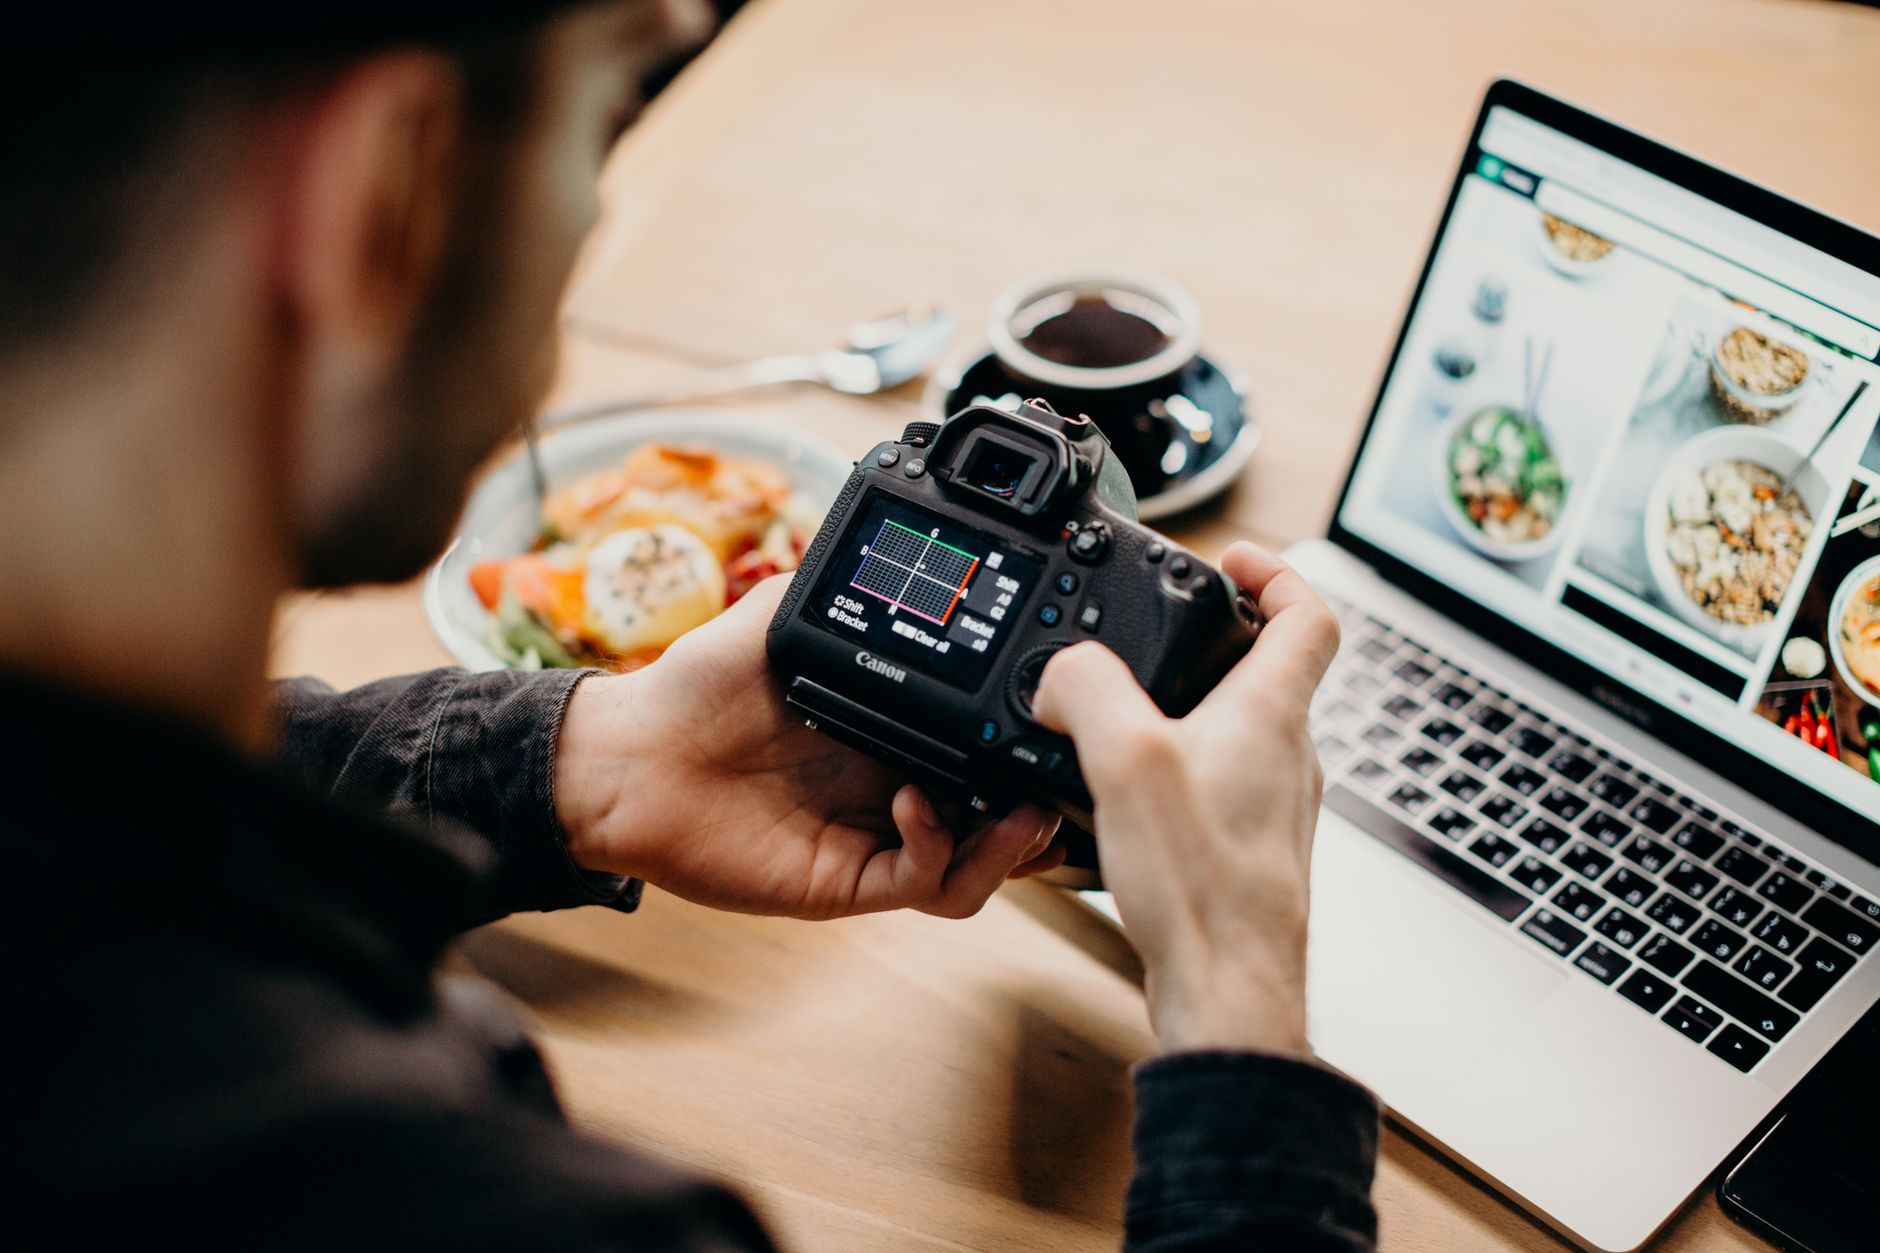
Alt Text: The SEO Side of Image Optimisation
Every image on your website should have descriptive alt text. Alt text serves two purposes: it describes the image to visually impaired users using screen readers, and it tells Google what the image contains. Both matter.
Good alt text is descriptive and specific without being stuffed with keywords. “Small business owner reviewing website analytics dashboard on MacBook” is good alt text. “website web design SEO small business WordPress” is keyword stuffing that helps nobody and can actually hurt your rankings.
For images that are purely decorative — background textures, dividers, abstract shapes — leave the alt text empty. An empty alt attribute tells screen readers to skip the image, which is the correct behaviour for decorative content.
How to Check Your Current Image Performance
Run your website through Google PageSpeed Insights. If images are causing problems, you will see specific recommendations including “Serve images in next-gen formats,” “Properly size images,” and “Defer offscreen images.” These three recommendations all relate directly to the optimisation practices covered above.
A well-optimised small business website should have no image-related warnings in PageSpeed Insights and a mobile performance score above 80. Images that are not causing warnings are not the problem — focus only on what PageSpeed actually flags.
If your website is slowing down because of unoptimised images and you would rather have someone else fix it properly, get in touch with Aesthetic Web Studio. We also cover speed optimisation in detail in our guide on how to speed up your WordPress website.
Frequently Asked Questions
What image format should I use for my WordPress website?
WebP is the best format for most web images in 2026 — it produces smaller files than JPEG and PNG at equivalent quality and is supported by all major browsers. If you are using an image optimisation plugin like ShortPixel, it will convert your images to WebP automatically. Use PNG only for images that require transparency where WebP is not suitable.
How small should my image file sizes be for a website?
As a general guideline, hero images and large featured images should be under 200KB after compression. Smaller in-content images should be under 100KB. Thumbnail images should be under 30KB. These are targets rather than rules — the goal is the smallest file size that maintains acceptable visual quality at the intended display size.
Does image optimisation affect image quality?
Done properly, image optimisation is visually imperceptible. Compressing a JPEG to 75 to 85 percent quality looks identical to the original at normal viewing sizes. The difference becomes visible only if you zoom in significantly or print the image — neither of which website visitors typically do.
If this was useful, tell Google you want more of it.